
Lately I’ve been extending my baking skills and I’ve been practicing the ciabatta recipe from Iban Yarza’s book, Pan Casero, which I think is delicious. I say extending my baking skills because it’s the first time I’ve tried a preferment recipe and more specifically poolish. Poolish have zero complications in comparison with the straight doughs, but it’s true that in general you need extra time and the final dough is more sticky since it’s more moisturized. So you are going to need to have some experience working with dough if you don’t want to end up full of dough and even, depending how brave you are, your kitchen.
What you are going to need for this recipe is the same as with the previous ones, plus a tray or container to handle the dough after we finish the kneading. I recommend to review the preliminaries for baking post for a full description of the methods. Take into account that the amount of yeast is specify for 12, 8 and 3 hours for the bulk fermentation of the poolish. On top of that you are going to need around 2 hours of mixing — kneading — proofing ** after the polish is ready, plus the usually **40-50’ of baking.
IngredientsPermalink
For the poolish
- Flour: 450 gr (60%).
- Water: 450 gr (60%).
-
Yeast: 1 to 7 gr of fresh yeast (see below) depending on how much we want to leave the poolish resting — fermenting.
- 0.9 gr for 12 hour fermentation (0.12%).
- 3 gr for 8 hour fermentation (0.4%).
- 7 gr for 3 hours fermentation (0.93%).
For the final dough
- Poolish: 900 gr (60%).
- Flour: 300 gr of flour (100% = 60% from poolish + 40% from the final dough)
- Water: 120 gr of water (76% = 60% from poolish + 16% from the final dough)
- Salt: 15 gr of salt (2%)
As you probably have noted the proportions are a little bit weir, this is because, as always, they are the percentage of the full amount of flour. So, if we want to end up with a 750 gr. of bread —in this case two loaves of ~375 gr.— you need the 60% of flour for the poolish and the same amount of water. From there on, you have to complete the quantities for the final dough.
DirectionsPermalink
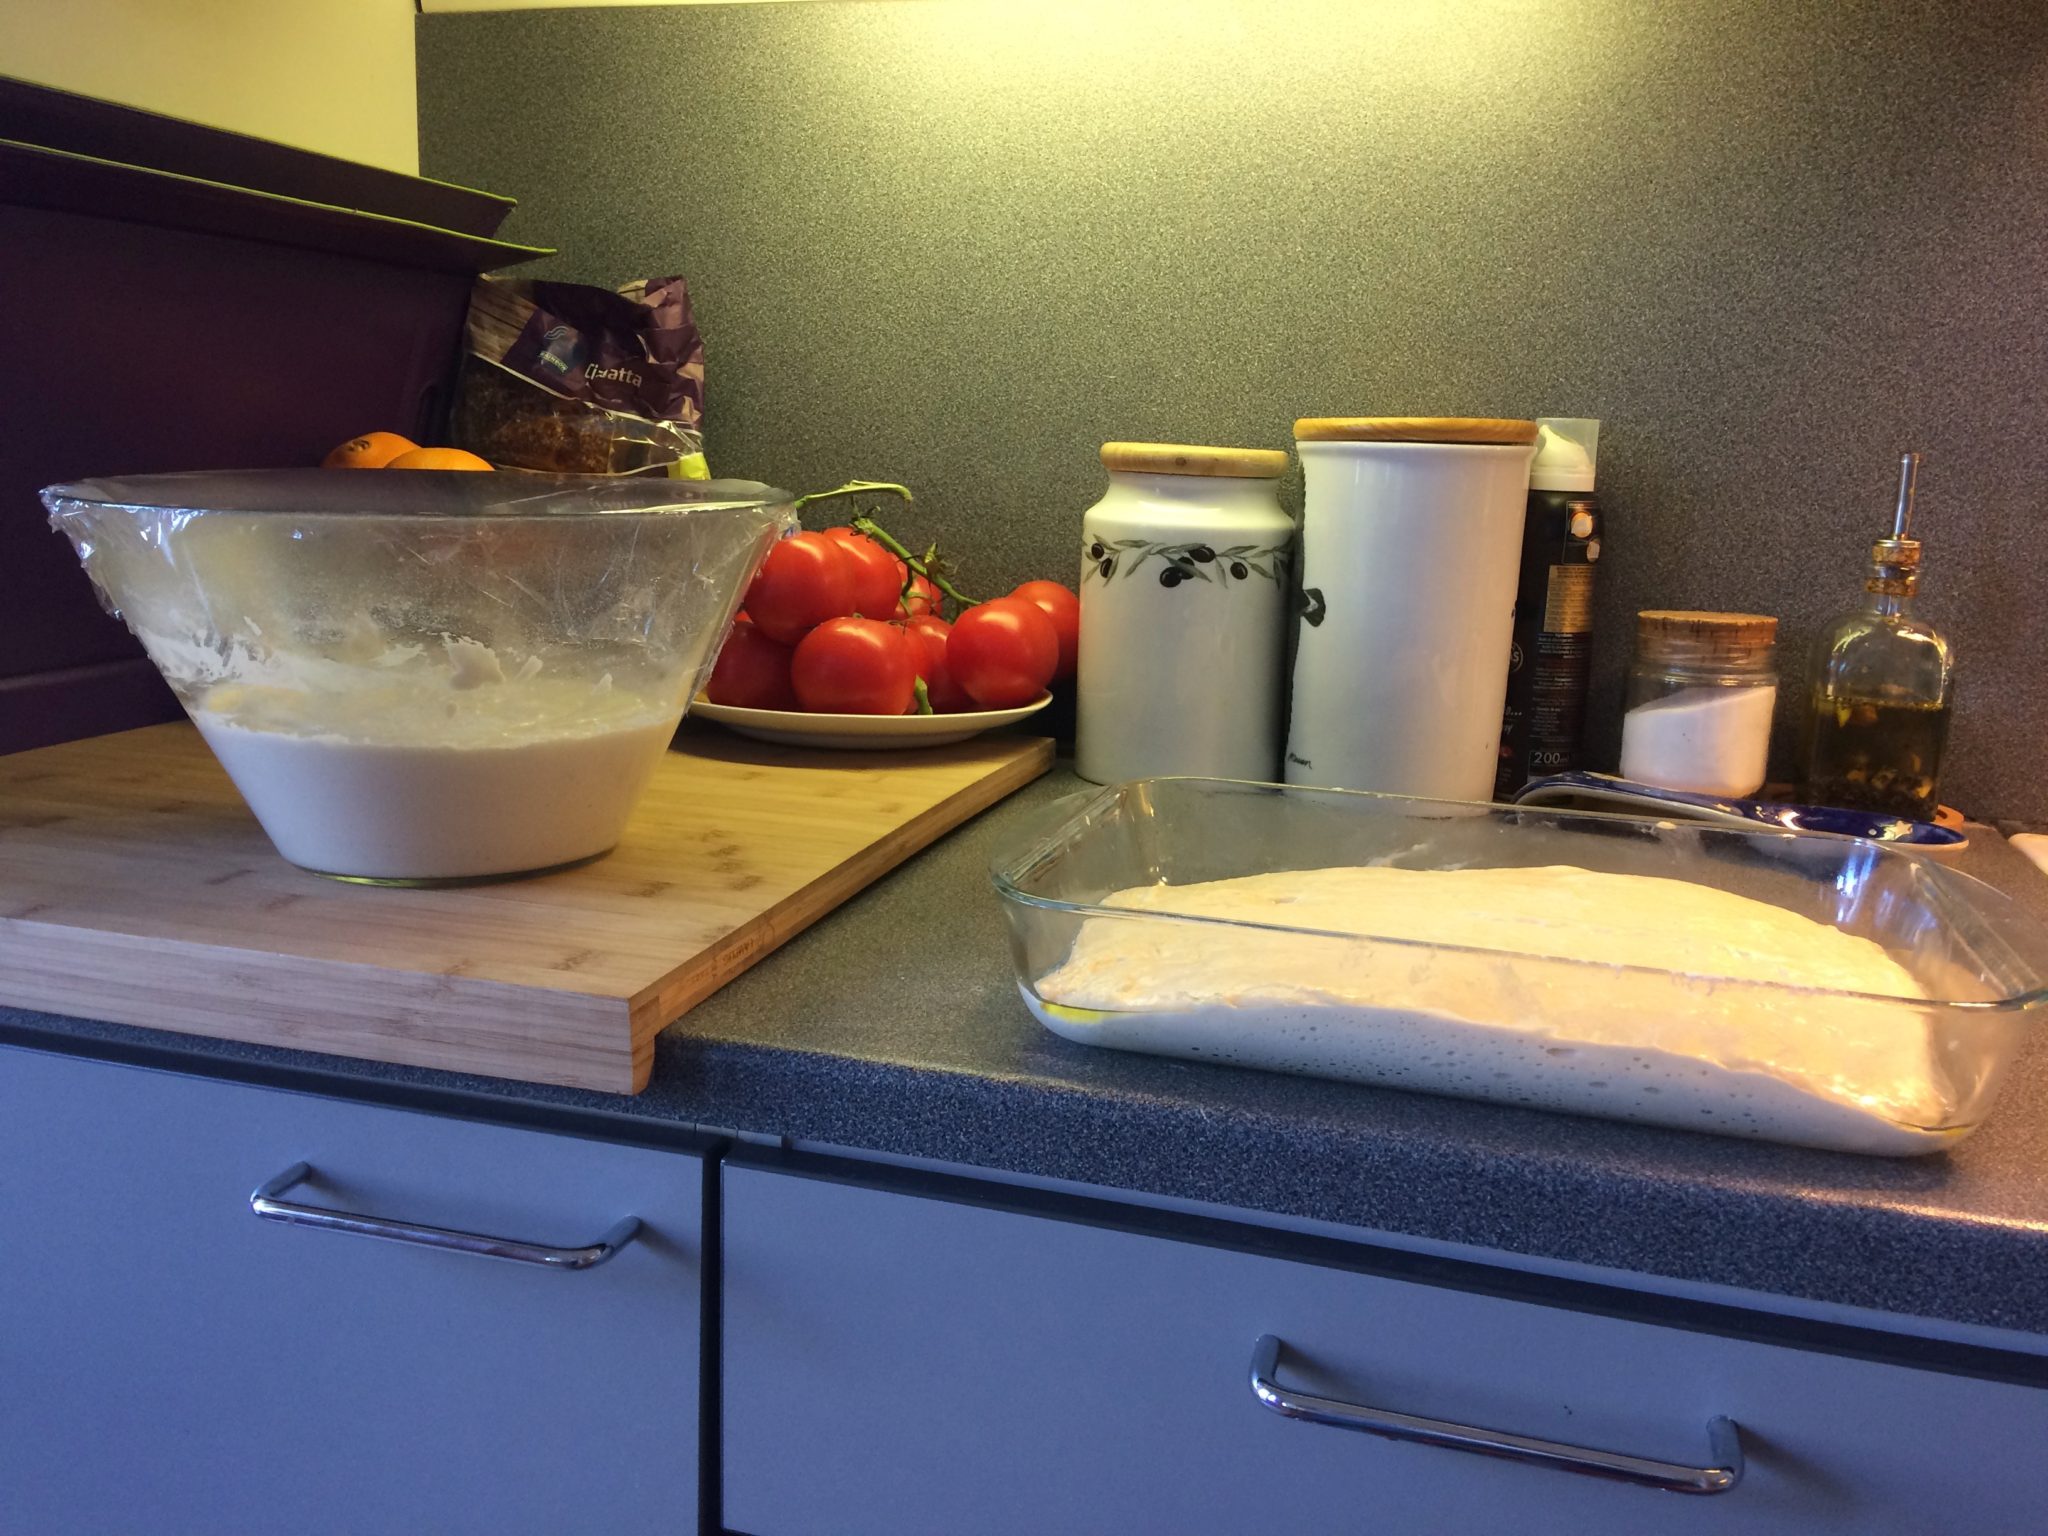
- You measure 450 gr. of flour and put into a bowl at least the double and preferably the triple of that volume.
- Measure 450 gr. of warm water (37 ºC) and mix it with the yeast. When dissolved, pour into the flour and mix it, with a spoon if you want, until homogenous.
- When the mixture has double the volume (in 3, 8 or 12 hours) pour the 300 gr. flour, 120 gr. of water and the 15 gr. of salt in the poolish and mix everything with your hands using the pincer method. Be aware that the dough is really sticky, so have at hand a spoon to clean your hand when you are done.
- Now you have two options, you can take the dough out of the bowl and use the French kneading method for 10’ or you can take the easy way and practice the folding like 5-6 times every 10’ for the next 30’. The aim here is to develop the gluten so the dough doesn’t just flat out in the oven tray and it’s able to rise. If you don’t have experience with the French kneading I just recommend you to leave the dough in the bowl and practice the folding. A great way to avoid the dough to sticks to your hand is set it like a paddle —put your fingers tight together— and dip it in cold water before you begin to fold every 10’. I usually go a little bit the extra mile and I do the first folding repetition extra long and fold the dough for about 5’ minutes.
- After you’ve developed the gluten you take out the dough from the bowl and set in on a tray where you’ve spread olive oil so the dough doesn’t stick to it. There you fold it like a small package using the 4 sides and turn it over with the seam downwards for 30’.
- After 30’ you repeat the operation, fold again like a small package using the 4 sides and turn it over, but this time let it rest for an hour.
At this point you could think to preheat the oven to 250 ºC so it’s ready after an hour. Remember to put a container with water inside so there is humidity when you introduce the bread. Preheat the oven tray too.
- After an hour you take the dough out of the tray / container —genteelly so you don’t ruin the air pockets— and put in the counter where you have sprinkle some flour. You can cut the dough in half longwise so you end up with a couple of strips of dough that are like a small mattresses.
- Now, you take the tray out of the oven and put parchment paper over it —without burn yourself— and after that you put the two stripes of dough.
- Bake them in the oven for about 20’ and remove the water.
- You can reduce a little bit the temperature now to around 230 ºC and bake for another 10’.
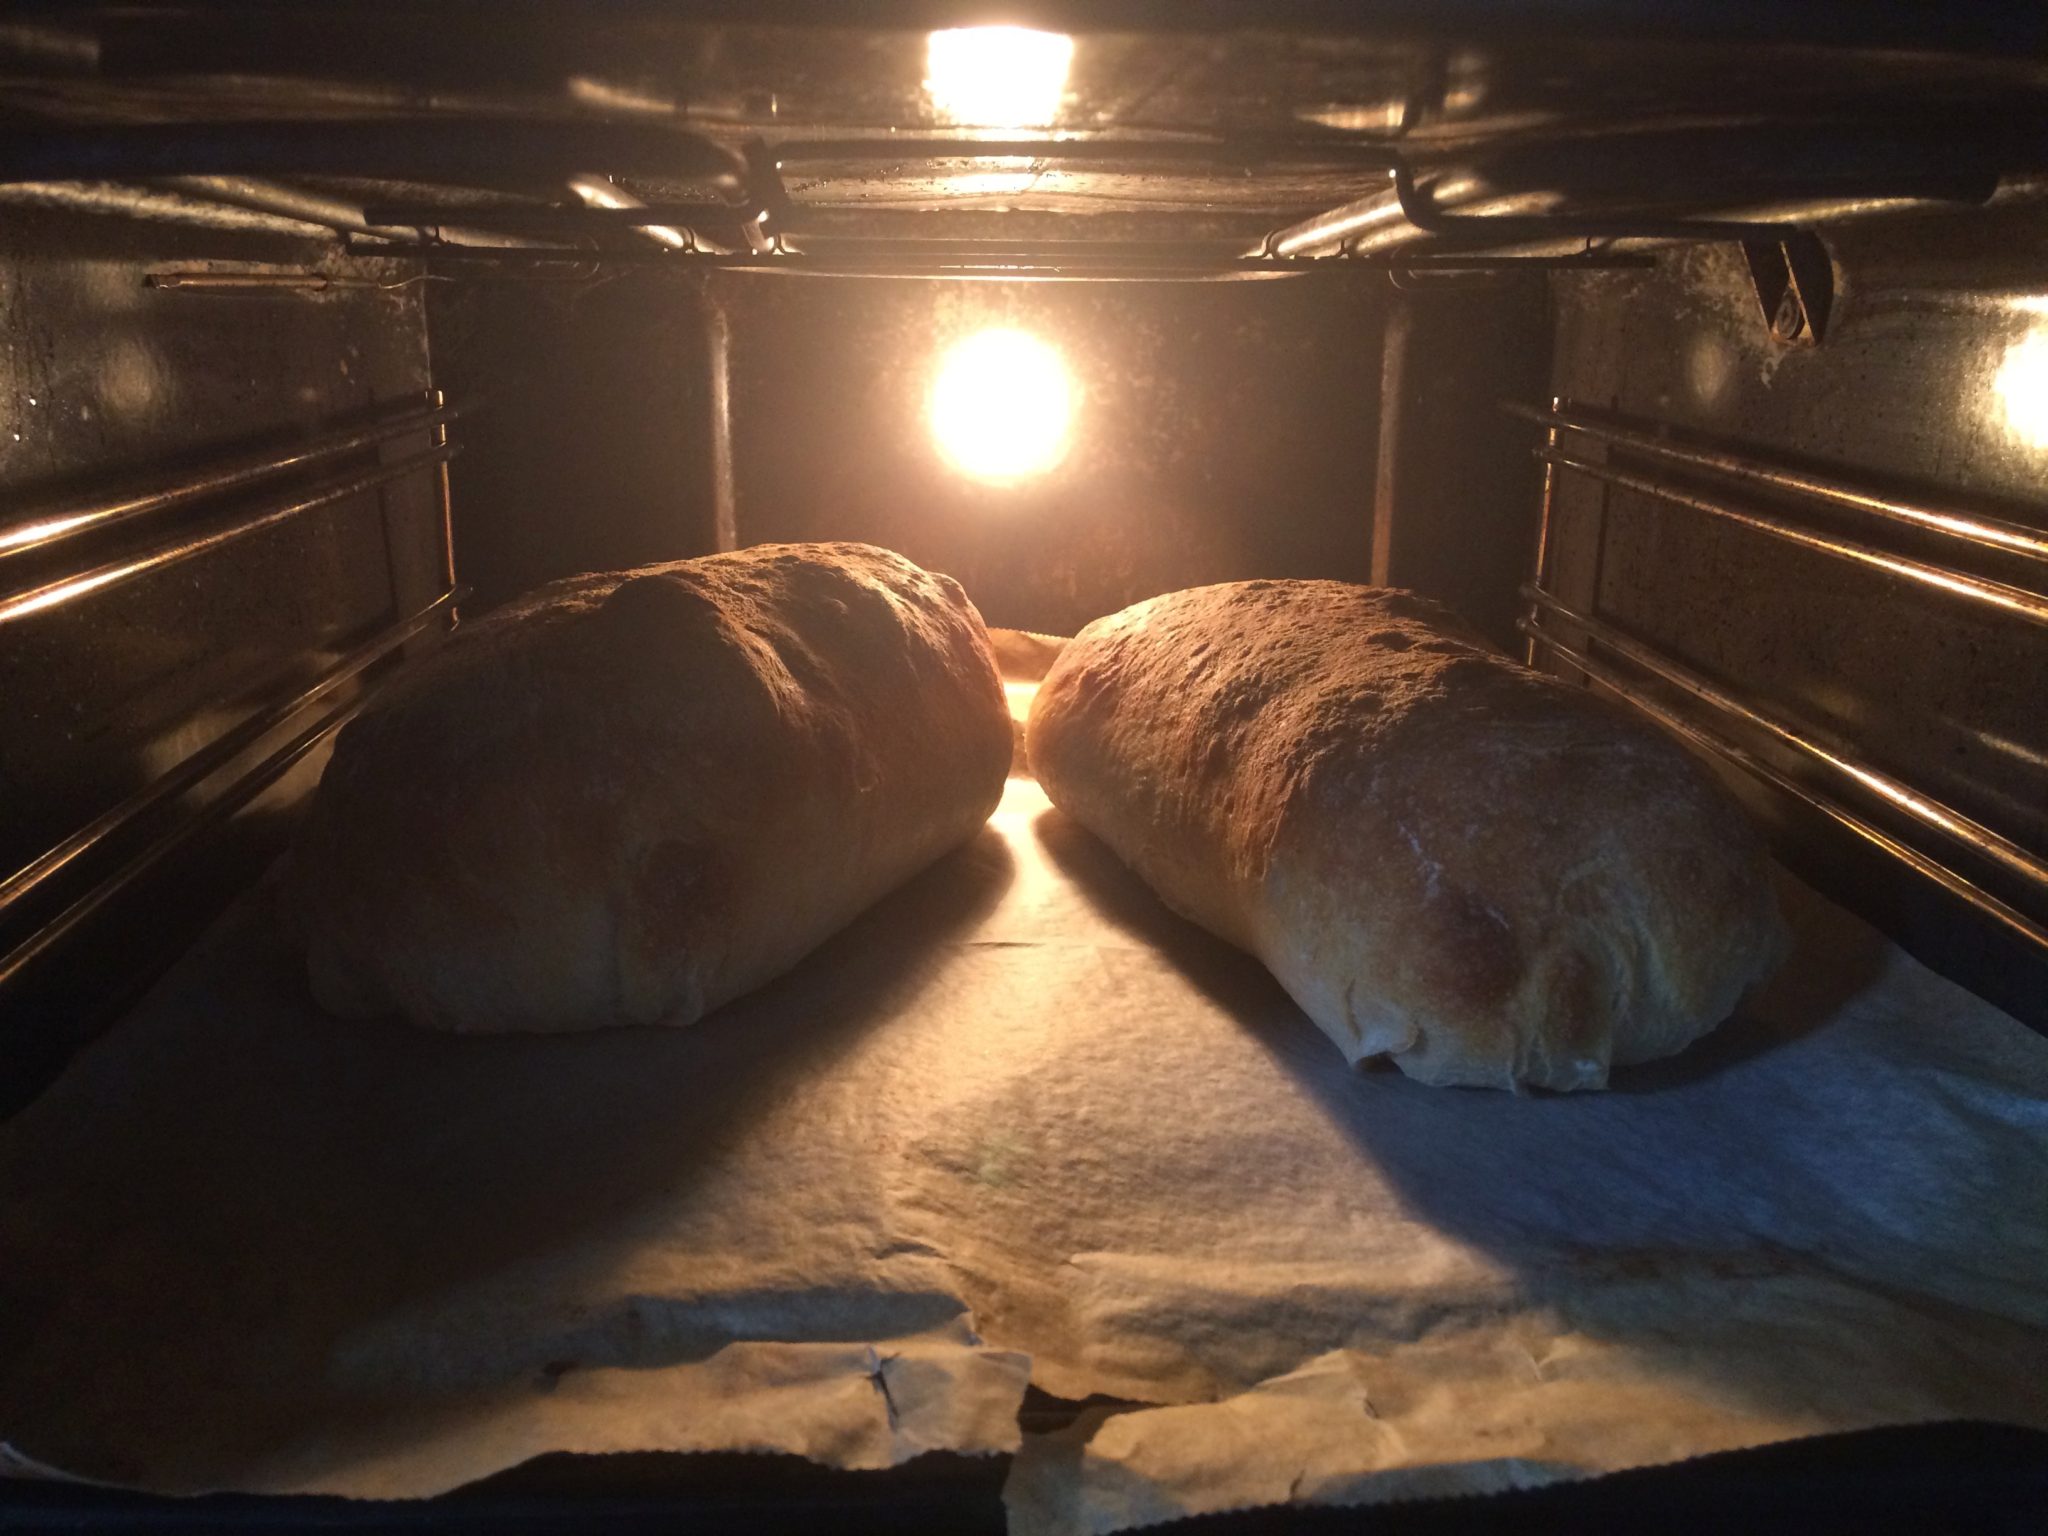
- After 10’ I usually turn around the loaves so they get well baked on the bottom and bake for another 10’.
- Finally, turn off the oven and open the door a little bit leaving the bread there for an additional 10’.
- Take the loaves out and let them rest over the rack for at least half an hour.
- Enjoy your ciabatta.


Leave a comment