
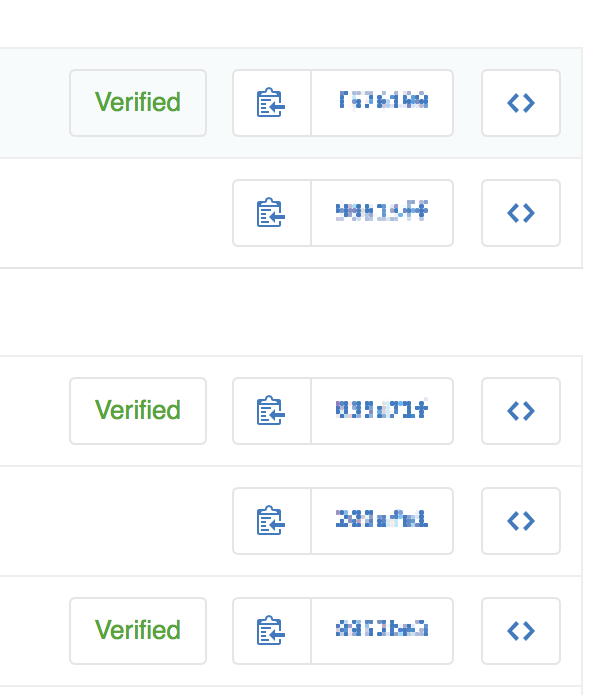
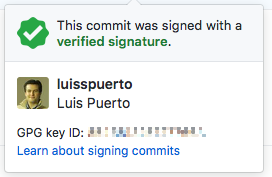
I’ve been committing on Git a lot lately and I’ve been uploading those commits to GitHub. At the same time, I’ve been doing some changes in the repository directly on GitHub and I noticed that the commits that I’ve done in GitHub itself were verified, but the ones that I was uploading from my computer were not. So, I decided to investigated how to “verify” the commits I upload from my computer. Turns out, that GitHub —and I suppose the rest of the online repositories— and Git are able to sign with a PGP key the commits you make to verify your identity against other people. It’s a way to be sure you, and only you, are the one that are committing, thus responsible for the things are doing.
If you what to set up the PGP signing is pretty easy in principle, but could have some caveats. To be honest, I struggled with it on the beginning and every time I committed after I set if up in the beginning I got the following message:
1
2

error: gpg failed to sign the data
fatal: failed to write commit object
You can check the knowledge base that GitHub has about the topic here. However, I found that some of the topics are perhaps a little bit outdated and doesn’t give you clear directions about how you can really do it. I also checked this sources to get my solution post:
- Github : Signing commits using GPG (Ubuntu/Mac)
- Git error - gpg failed to sign data
- Github GPG + Keybase PGP
- Automatic Git commit signing with GPG on OSX
- Git Tools - Signing Your Work
How I’ve done itPermalink
First of all, you need to install pinentry for mac. I’ve installed all of them using homebrew.
1

brew install gpg gpg-agent pinentry-mac
Now, you need to created a PGP key runnnig the command:
1

gpg --full-generate-key
You can do it also with:
1

gpg --gen-key
However, if you do like the latter command is not going to give you the option to change the key size, as suggested by GitHub.
Answer all the prompted questions and be specially careful with your email since GitHub is going to recognize you by your verify email. You can also create a comment to identify the key e.g. GitHut Key. Finally create a passphrase that you can remember, or note down in a password manager.
Now, you can have to list all your keys with the command:
1
2
3
4
5
6
7
8
9

gpg --list-secret-keys --keyid-format LONG

/Users/lpuerto/.gnupg/pubring.kbx
---------------------------------
sec   rsa4096/<YOUR_LONG_KEY_ID> 2017-11-04 [SC]
      349340ARAFKAJHFA93O8024O02JQ9304OQIRF0QU
uid                 [ultimate] Your Name (GitHub Key) <youremail@domine.com>
ssb   rsa4096/62E5B29EEA7145E 2017-11-04 [E]
You have to copy to your clipboard <YOUR_LONG_KEY_ID> , with is your key id, and paste in the following commands to configure you Git with your key.
1
2

git config --global user.signingKey <YOUR_LONG_KEY_ID>
git config --global commit.gpgsign true
You can certainly not pass the command
1

git config --global commit.gpgsign true
that configures your Git to always sign your commits with your signature and sign just certain commits with adding the flag pinentry .
You also need to copy your long key id again to get your PGP key with the following command.
1

gpg --armor --export <YOUR_LONG_KEY>
Which print you full GPG key, beginning with ——BEGIN PGP PUBLIC KEY BLOCK—— and ending with ——END PGP PUBLIC KEY BLOCK—— . Copy it and now you can paste it on your GitHub following this instructions.
Now, to make it work you need to config pinentry for mac as your dialog to enter your passphrase. To do that you have to use the following command to write pinentry-program /usr/local/bin/pinentry-mac in gpg agent config file.
1

echo "pinentry-program /usr/local/bin/pinentry-mac" >> ~/.gnupg/gpg-agent.conf
You can also do it manually.
1

open ~/.gnupg/gpg-agent.conf
Finally, you need to restart the gpg agent doing the following. This is really important and it’s was one of the reason because I took me so long to finally configure Git with the PGP. Since I haven’t restarted the gpg-agent it hasn’t pick up the configuration.
1

gpgconf --kill gpg-agent
It’s done!
I recommend you to test it doing a test commit. First time it should to prompt you with a dialog like this
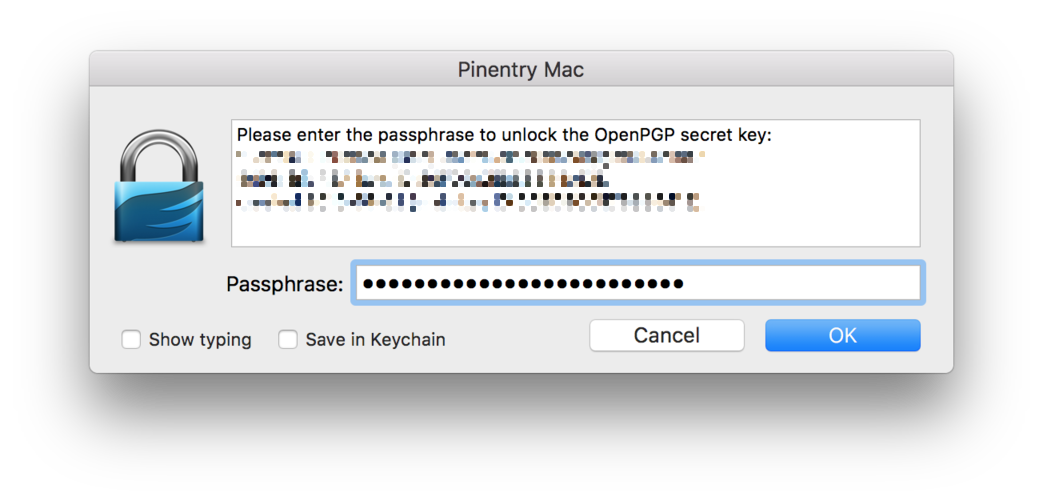
Where, if you tick save in keychain , it isn’t going to prompt you again.
Note that if you want to sign commits outside of the shell, not all the apps can sign commits. With my setup I’ve tried Tower and GitHub Desktop and they are able to sign without any problem. Keep in mind that I’ve committed first in the shell and then I’ve clicked save in keychain so I don’t know how is going to behave the first time you commit and you haven’t ticked that option or if it’s the first time you sign a commit. In case you had problems with Tower, there are a couple of tutorials out there including Tower:
Enjoy your Git!
Note: I’ve follow this setup in Mac OS X El Capitan 10.11.6 and with Git 2.15.


Leave a comment