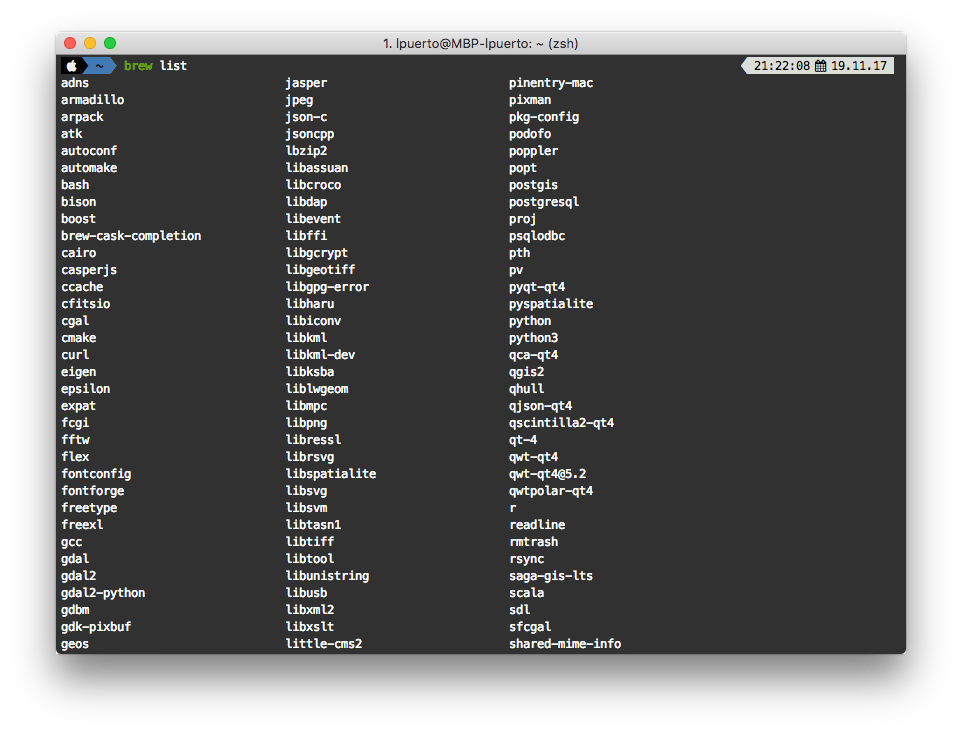
In some of my previous post [e.g. 1, 2, 3 or 4 ] I’ve been using Homebrew to install some pieces of software in my Mac using the terminal, or shell. But, perhaps you’ve been wondering what is exactly Homebrew? It defines itself as “the missing package manager for macOS”. Yet… what is a package manager? A package manager is a small piece of software that helps you to manage other software —packages— in your computer, or in other words, to install, update, setup and uninstall software. Package managers have been a classic in most linux distributions and most linux users are accustomed to the idea to install software through them, whether on a GUI (graphical user interface) or just on a CLI (command line interface). You as a macOS user probably are also used to a GUI package manager, the Mac App Store, that allow you to install Apps easily and keep it updated. It doesn’t uninstall it for you, or clean the config files, though.
However, you usually need more software that the one you can find in the Mac App Store, and even more if you are a bit of an advance user. For example, you probably need to install Java, Flash, Git, R (the stats software) or other apps that aren’t available on the Mac App Store for different reasons. To manage that software and apps Homebrew was created.

Homebrew is a really simple thing, it’s just a Git repository full of Ruby scripts that you download to your machine and they install, update or uninstall the software with a given set of parameters or options that user can set. Those scripts are called formulas in the Homebrew terminology —as you soon will discover, Homebrew terminology is everything about beer. You can easily install Homebrew using your terminal with the following command.
1

/usr/bin/ruby -e "$(curl -fsSL https://raw.githubusercontent.com/Homebrew/install/master/install)"
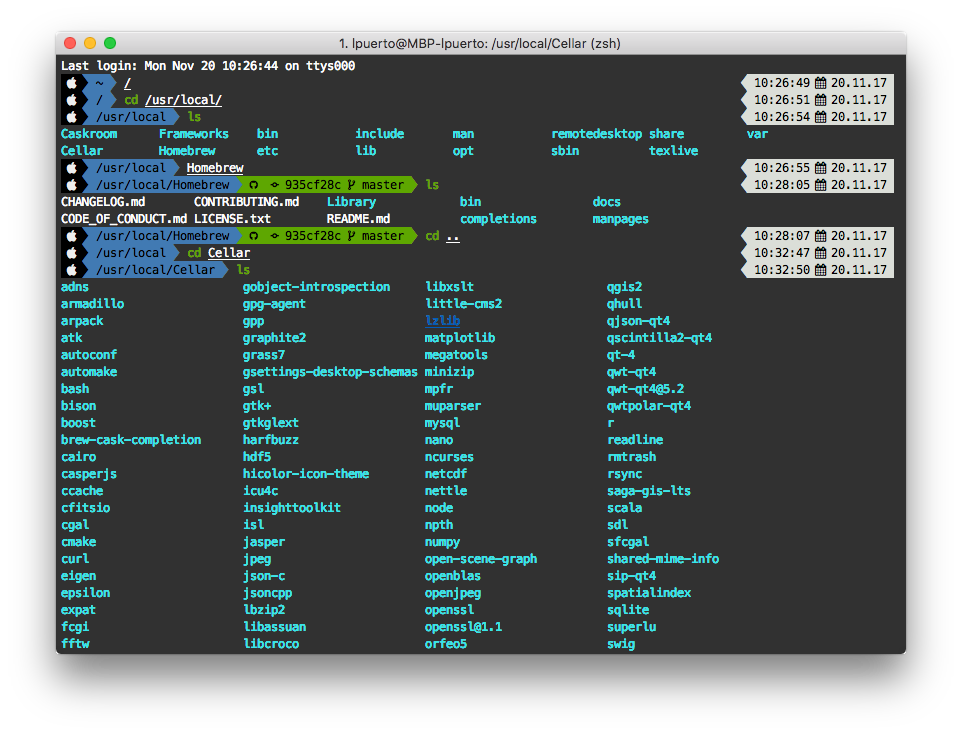
From there on, you can start to use Homebrew in the same way as any other command on terminal. To use Homebrew you just have to type info if you want more info about it. Homebrew install itself on the folder /usr/local/Homebrew and it’s going to install your software in the folder /usr/local/Cellar.

When you install a formula with Homebrew, it usually creates symbolic links to the folder /usr/local —usually to the /usr/local/bin. but it could create more links to other folders there— to make that software available to the whole system. However, there are some formulas that aren’t linked to /usr/local and they are considered keg-only, or in other words, they are there just to be used for other formulas as dependencies. You can change that, though, and link it manually with brew link. Sometimes when you install a formula with Homebrew, you need to link it manually and/or force the linking, just because your system has already a symbolic link on /usr/local/bin for that same software but not manage by Homebrew. Like with the Git case.
1

brew link -f formula-name # -f is a flag to force the linking in case there were already a symbolic link on /usr/local/bin
What are the advantages of using Homebrew? Mainly that you can forget about download any software yourself and keep it updated manually. Now, you just can download and install your software with a simple command on your terminal, and update or uninstall it. After you install Homebrew you just need to type this in your shell to install a formula:
1

brew install formula-name
But you probably are wondering… How can I know the name of the formula I want to install? It’s quite easy, most of them are really intuitive, like for example Git one.
1

brew install git
Some other aren’t that easy, but Homebrew has a search engine included.
1

brew search formula-name
And of course, you can look on internet for them. There are even some websites that are specialized on formulas, like http://brewformulas.org.
One of the advantages of Homebrew is you can install more than one formula at once, and you can even create shell scripts to install, uninstall or configure several formulas.
If you want to install more than one formula, it’s pretty easy.
1

brew install formula-name-1 formula-name-2 formula-name-n ...
Another advantage of Homebrew is you can also choose how to install your software and you can even compile yourself from source code. If possible, Homebrew is going to install in your system a bottle by default, the binaries of the already compiled software. Yet, you can ask Homebrew to download the source code and compile it in your computer. Compiling has advantages and disadvantages. The main disadvantage is that it takes time, for some packages up to half an hour or more to compile, really depends on your machine. Also takes resources. On the other hand you can really personalize your install and the software, giving you fully control of the software you install in your computer, giving extras from the original or standard install. Even you can install software that is under development or it isn’t available for Mac yet.
For example, I have a full Homebrew R install that allow me to have the last version of R before is available for Mac in CRAN. Since I’ve compiled it myself, I’ve compiled with OpenBLAS which make R a little bit faster. I’ll try to make a post soon about my installation of R and how to do yourself one.
Finally one of the best things about Homebrew is you can update all the software installed with it just with one command. Ok, the true is you need two, but you can chain them on just one.
1

brew update && brew upgrade
The first command is to update the list of formulas you have available in the Homebrew repository and download to your computer. It’s basically a upgrade, what you are doing is comparing the formulas you have installed with the Homebrew repository ones. If there is new versions of the formulas you have, Homebrew will installed them for you.
Besides of formulas, kegs and bottles, Homebrew has also taps. Taps are third-party repositories additional to the core Homebrew. I think that the most famous one is Homebrew-Cask caskroom/cask. Cask allows you to install GUI apps that are installed in /Applications folder of your Mac. To install Apps with cask is very simple.
1

brew cask install cask-name
There are several other taps you can add and most of them are to add functionalities or are thematic, like for example homebrew/science for formulas related to science packages or osgeo/osgeo4mac for formulas related to geography and GIS. As you’ve noticed the name of the taps are somethings like this: some-name/some-name. The reason for that is because taps are GitHub repositories by default although you can tap any git repository, even local ones, so the tap names correspond to github-username/repository. Therefore, and through this simple mechanism, you can create your own taps and share them with anyone, and, conversely, add anyone taps.
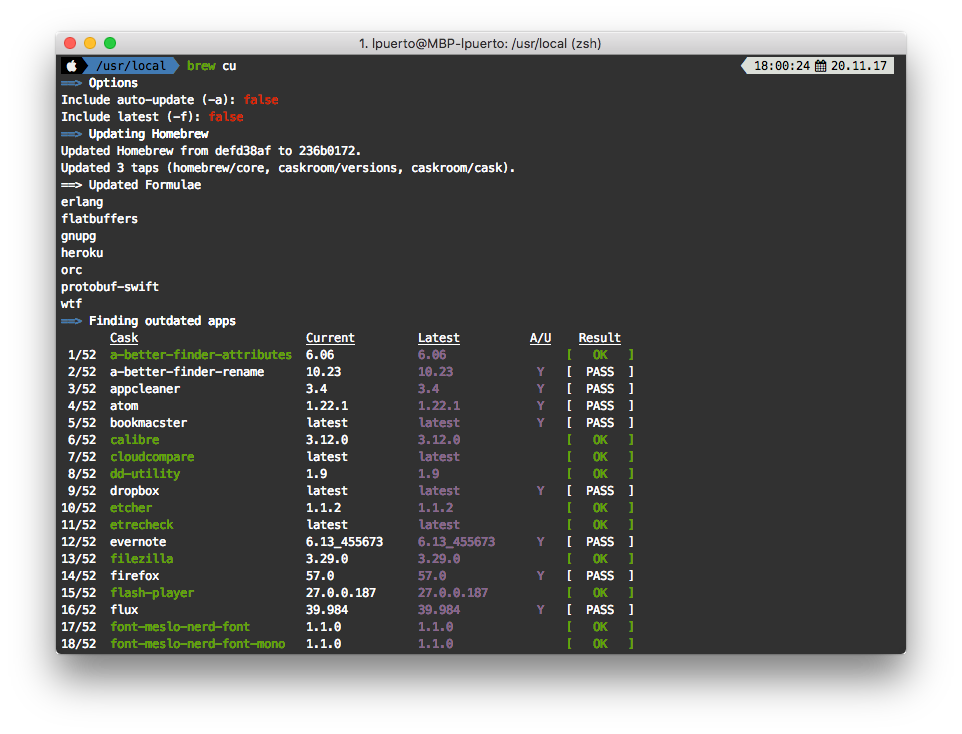
For example I’ve installed a tap that adds functionalities to Homebrew-Cask, since the update capabilities aren’t as great as with homebrew/core. The name of this tap is buo/cask-upgrade and you can check the repository here. With the original Cask functionalities you can only know which casks are outdated using brew cask outdate and force brew to “update” each of them with:
1

brew cask install -f cask-formula-name # -f to force to force the install of the new version
However if you use buo’s tap you just need to type:
1

brew cu
and that’s it. You can even add the flags -a and -y to autoupdate and to not ask questions. Yet, you have to be aware that some people on the team of homebrew cask doesn’t like buo’s tap or at the very least they think it has some caveats. So be careful when you implement it.

There are more commands you can use inside of Homebrew and Hombre-Cask. You can find more documentation about Homebrew here, and about Hombrew-Cask here.
I don’t want to finalize without sharing with you the line I use to update and upgrade my Homebrew.
1

brew update && brew upgrade && brew cleanup && brew prune && brew cu -ay && brew cask cleanup
You already know the purpose of prune deletes the unnecessary symbolic links.
Happy brewing ![]() !
!


Leave a comment