
I recently needed to convert my Raspberry Pi 3 into a AirPlay receiver because I didn’t have any of my AirPort Express at hand and I wanted to play just music —not the entire collection of sounds my computer produce— on one of my old Hi-Fi Self Stereo System. So I searched on the internet and saw that it was totally possible to do it and I try it. I used as a source this article and I want share with you what steps I specifically followed.
PreliminariesPermalink
Let’s download some packages we are going to need as dependencies.
1

sudo apt-get update && upgrade
1

sudo apt-get install autoconf libtool libdaemon-dev libasound2-dev libpopt-dev libconfig-dev avahi-daemon libavahi-client-dev libssl-dev
Shairport syncPermalink
To convert our Pi in a AirPlay device we need a software that is call Shairport Sync. We are going to need to compile it for our system, so we need to download the source code and then compile. To download it just run on the Pi’s terminal:
1

cd ~/Downloads # I like to download my soft in Downloads folder.
1

git clone https://github.com/mikebrady/shairport-sync.git
CompilePermalink
Now that we have download the shairport-sync repository to our Pi, we can proceeded to compile it. First or all we need to move to the Shairport Sync folder and then we can proceed to configure the compilation process.
1

cd ~/Downloads/shairport-sync
1

autoreconf -i -f
1

./configure --with-alsa --with-avahi --with-ssl=openssl --with-systemd --with-metadata
Now that we have configured it, we can proceded to compile and install it.
1

make
1

sudo make install
Final configPermalink
When the config and installing process finish we can proceed to configure the software to use it. The main thing we need to do is create a group of users that can access to the hardware and then create a user on that group that will use the software.
1

sudo groupadd -r shairport-sync >/dev/null
1

sudo useradd -r -M -g shairport-sync -s /usr/bin/nologin -G audio shairport-sync >/dev/null
We also need to set up shairport sync to start on startup.
1

sudo systemctl enable shairport-sync
If we want to start right away to using it we can manually start it with the following command.
1

sudo service shairport-sync start
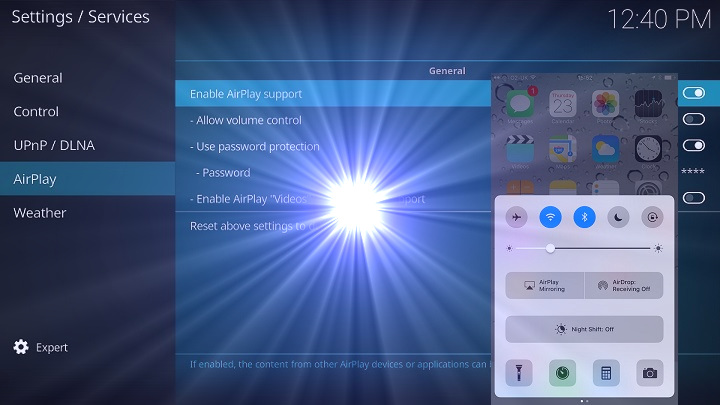
You are going to be able to find the Pi among the devices that offer AirPlay from your iOS device or your Mac. The name of the device is going to be the hostname you set up for your Pi using the raspi-config interface, if you haven’t changed it, it’s going to be RaspberryPi.
Tune upPermalink
](/assets/images/blog/2018/SSF_WMD_Modules_-_2014_NAMM_Show.jpg)
If you try to use your Pi as a AirPort Express right away you probably going find out that the sound quality leaves a lot to be desired —very low and quite distorted. However, you can do some tune-ups in the settings to improve this, but don’t thing we are going to be able to make it sound like a real AirPort Express.
Update Raspberry Pi FirmwarePermalink
One of the first things we can do to improve the quality of the sound is to update the sound driver of the Pi. To do it, you need to update the firmware of the Pi. You can read more about this in this forum thread. Please, keep in mind that while you are updating the firmware you must not lose power in the Pi. To update the firmware you run the following command:
1

sudo rpi-update
Once the update process finish you need to turn off the Raspberry and take the SD card out of it and insert the card in a computer card reader. We are going to modify the boot config file of the Pi and and to do it we are going to open with a text editor the config file that it’s located on /boot/config.txt. Then you need to add the following variable to the end of the file:
1

audio_pwm_mode=2
Save the file, put the card back on the Pi and turn it on.
Audio jack as main audioPermalink
Now, we also need to set up the audio jack as the main audio output. Just run the following command:
1

amixer cset numid=3 1
Shairport Sync db rangePermalink
There is a final setting we need to configure and it’s related to the audio range in which Shairport Sync operates. To do it we need to open the config file of Shariport Sync, therefore run the following command on the Pi’s terminal to open it with Nano.
1

sudo nano /usr/local/etc/shairport-sync.conf
Then we need to look for the following variable:
1

//      volume_range_db = 60 ;
and change it to
1

volume_range_db = 30;
Save and close Nano, Ctrl + X then Y and finally press return.
You need to reboot the Pi to make sure that new configuration is properly loaded.
1

sudo reboot
Bottom linePermalink
As you are going to soon find out the quality of sound isn’t exactly the same as with an AirPort Express, but this tweak allow you to use your Pi as one. It can be handy if you are traveling, you have your Pi with you, and you want to plug your music into some audio device or speakers.
If you wand to use your Raspberry for to play audio there are other options out there. One is RuneAudio which is a dedicated OS to play music on the Pi and the other is to install Kodi since Kodi can play AirPlay.


Leave a comment